This guide will walk you through the process of setting up and using Cal.com and Supabase in the same project. This Flask-based web application allows you to receive webhook events from Cal.com and store the event data in a Supabase table.
Recently, Supabase and Cal.com had a fun showdown on Twitter/X, with both platforms launching on the Product Hunt on the same day. This event got me to explore both tools using Daytona, and I've created a small project to help you get started.
Daytona declutters your laptop by managing your dev environments inside containers or even on remote machines. You can pick and choose, mix and match, but you only have to run one command `daytona create`.
Prerequisites
Before you begin, ensure that you have the following:
Daytona v0.12.1. installed
Python 3.7 or later installed
A Supabase account and API keys
A Cal.com account
Step 1: Create a New Workspace
Open your terminal and run the following command to create a new workspace using Daytona:
1daytona create CalLovesSupabase -r https://github.com/nkkko/callovessupabase.git
This command will clone the repository and create a new workspace for you.
Step 2: Set Up Your Development Environment
Start your preferred IDE using the following command:
1daytona code
Alternatively, you can change your preferred IDE using daytona ide.
Set up your development workspace. You can use the provided devcontainer.json or manually install the required dependencies:
1sudo apt update2sudo apt install pip3pip install supabase4pip install python-dotenv
Install the project dependencies by running:
1pip install -r requirements.txt
Step 3: Configure the Environment Variables
Create a
.envfile in the project directory.Open the
.envfile and add your Supabase URL and API key:
1SUPABASE_URL=your-supabase-url2SUPABASE_KEY=your-supabase-api-key
Replace your-supabase-url and your-supabase-api-key with your actual Supabase URL and API key.
Step 4: Start the Flask Development Server
Run the following command to start the Flask development server:
1python3 listener.py
The web server will start running on http://localhost:5000/.
Step 5: Forward the Localhost Port
Use the daytona tool to forward your localhost port and make it publicly accessible:
1daytona forward 5000 --public
This command will generate a URL that you can use as the Subscriber URL in the Cal.com webhook configuration.
Step 6: Configure the Cal.com Webhook
Log in to your Cal.com dashboard.
Navigate to the Settings, then Webhooks (under Developers).
In the webhook settings, paste the generated URL from Step 5 as the Subscriber URL.
Save the webhook configuration.
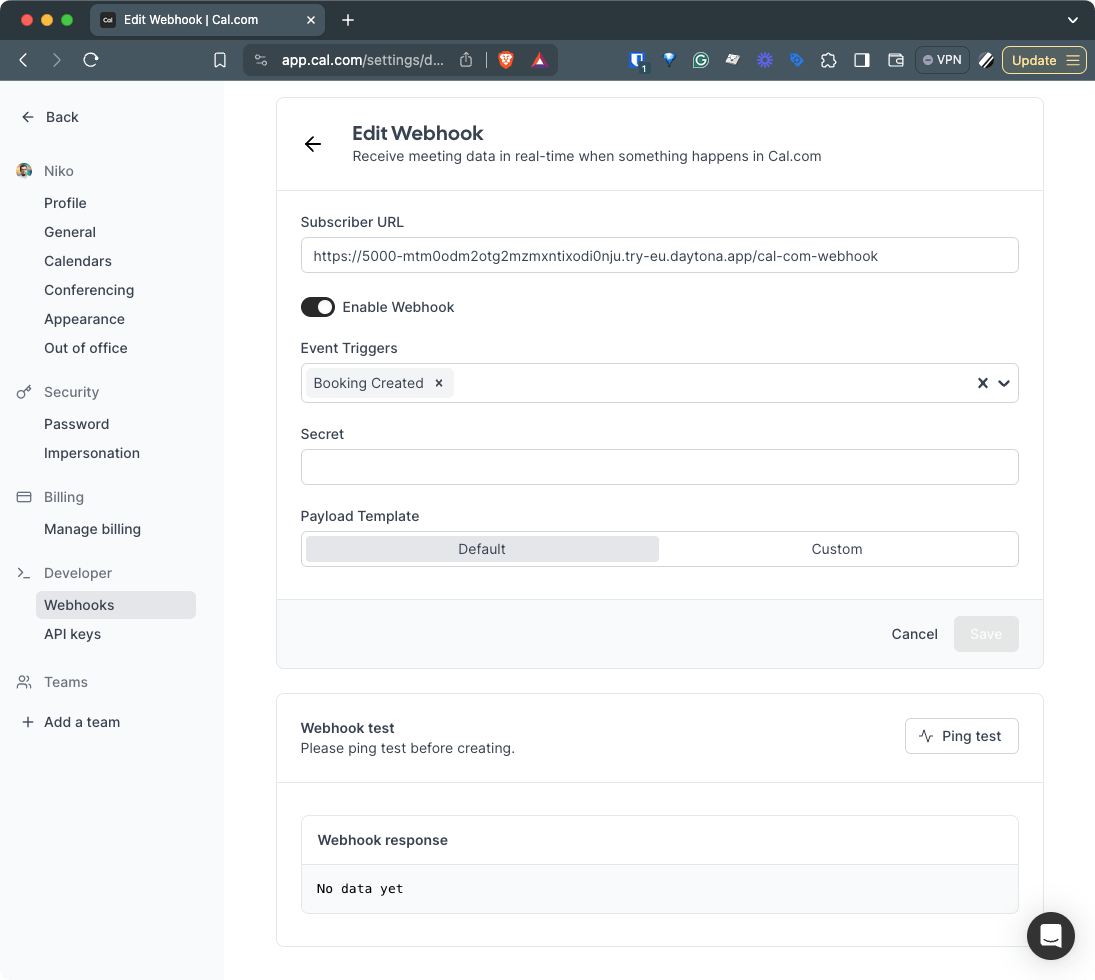
Step 7: Test the Integration
Trigger Webhook Ping test in Cal.com in the configured webhook.
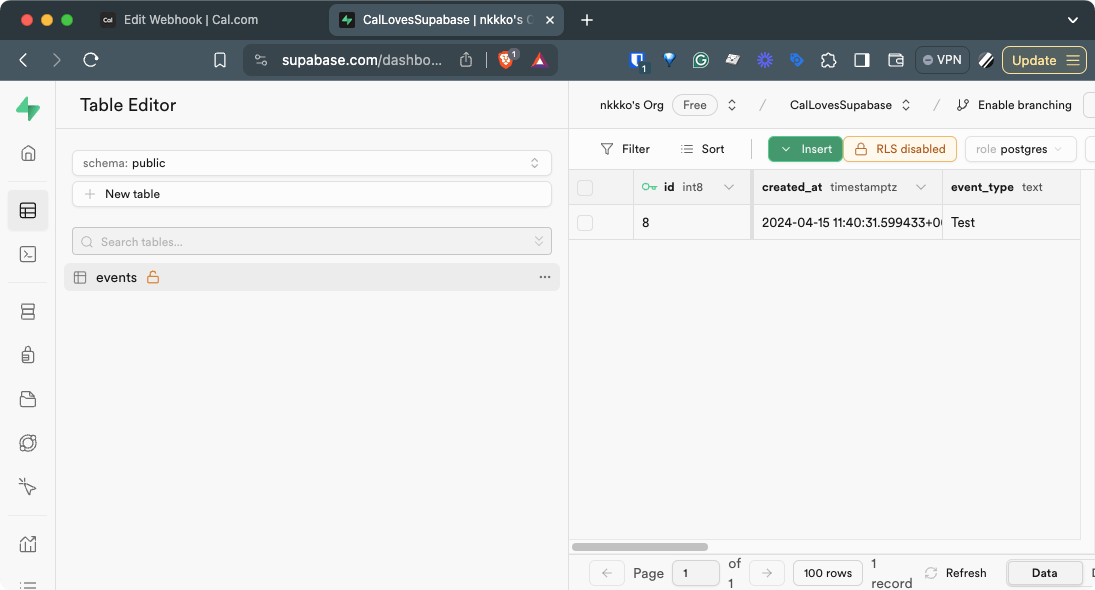
The webhook event will be sent to the Flask application, and the
handle_cal_com_webhook()function will be called.The event data will be extracted and stored in the Supabase table.
You can verify that the event data has been successfully stored by checking your Supabase table.
Conclusion
Congratulations! You have successfully set up and used the Cal.com x Supabase integration project. You can now receive webhook events from Cal.com and store the event data in a Supabase table.
If you encounter any issues or have suggestions for improvements, feel free to submit a pull request or open an issue on the GitHub repository.

